The Secret to Crispy Roasted Brussels Sprouts: Don't Turn Them!
For many, the mere mention of Brussels sprouts conjures images of soggy, bitter green balls from childhood. But it’s time to rewrite that narrative! When prepared correctly, these mini cabbages transform into culinary masterpieces: deeply caramelized, nutty, and wonderfully crisp on the outside, with a tender, almost creamy interior. If you’ve ever wondered
how to cook Brussels sprouts in the oven to achieve this elusive perfection, you're in the right place. We're about to reveal the ultimate secret to flawless oven-roasted Brussels sprouts, and it might just go against everything you thought you knew about roasting vegetables: *don't turn them*.
Forget the days of tossing your sprouts midway through baking. This counter-intuitive technique, combined with a few other essential tips, ensures a level of crispness and flavor you might not have thought possible. Get ready to elevate your side dish game and turn even the most skeptical eaters into Brussels sprout fanatics.
The Foundation of Flavor: Selecting and Prepping Your Brussels Sprouts
The journey to perfectly crispy Brussels sprouts begins long before they hit the oven. Optimal selection and meticulous preparation are fundamental steps that lay the groundwork for a truly exceptional dish.
Choosing the Best Sprouts
When you’re at the grocery store, think vibrant and firm. Look for Brussels sprouts that are a bright, healthy green color with intact, tightly wrapped outer leaves. They should feel firm and dense when gently squeezed, indicating freshness and good hydration. Avoid any sprouts that appear yellowed, bruised, or have loose, wilting leaves, as these are signs of age and will likely result in a less flavorful and more bitter outcome.
Size matters, but consistency is key. Smaller sprouts tend to be sweeter and more tender, but the most important consideration is to select sprouts that are roughly the same size. This ensures they cook evenly and are all done around the same time, preventing some from burning while others remain undercooked. If you end up with a mix of sizes, you can always halve the larger ones and quarter the very biggest to achieve better uniformity.
Once home, store your unused Brussels sprouts in a loose bag in your refrigerator’s vegetable drawer. They’ll typically keep well for 7 to 10 days, allowing you to enjoy multiple batches of this delicious side.
Prepping for Perfection
Proper preparation is where we set the stage for maximum caramelization.
- Trim the Ends: First, you’ll want to slice off the tough, nubby ends of each sprout. These bases are woody and unpleasant to eat, so a quick trim removes the undesirable part.
- Halve Them Correctly: This step is absolutely crucial. After trimming, slice each sprout in half directly through the flat base to the top. This technique creates a perfectly flat surface on one side of each sprout. This flat surface is designed to make flush contact with your hot baking sheet, which is essential for developing that coveted deep caramelization and crispy texture. For larger sprouts, you might even consider quartering them, always ensuring a flat surface remains for contact with the pan.
- Wash and Dry Thoroughly: Before tossing with oil and seasonings, give your sprouts a good rinse under cold water. More importantly, ensure they are *completely dry*. Any residual moisture will cause the sprouts to steam rather than roast, preventing them from achieving that desirable crispiness. A salad spinner works wonders, followed by a pat-down with a clean kitchen towel or paper towels.
The Science of Crisp: Temperature, Spacing, and the "No-Turn" Revelation
Now that your sprouts are prepped, let’s dive into the core principles that guarantee a crispy, caramelized outcome every single time. It's a delicate balance of heat, space, and a revolutionary roasting method. For more on achieving that perfect crispy exterior, check out our guide on
Master Perfect Oven Brussels Sprouts: Crispy & Caramelized.
High Heat for Maximum Maillard
Roasting Brussels sprouts at a relatively high temperature is non-negotiable for achieving crispy, golden edges. We recommend setting your oven to
425 degrees Fahrenheit (220°C). This high heat is sufficient to trigger the Maillard reaction—the chemical process responsible for the browning and complex flavors in many cooked foods—without being so high that your olive oil burns and imparts bitter notes to your sprouts. The intense heat quickly evaporates surface moisture, allowing the sugars to caramelize beautifully.
Give Them Room to Breathe
One of the most common pitfalls when roasting any vegetable is overcrowding the pan. Brussels sprouts are particularly sensitive to this. When too many sprouts are crammed onto a single baking sheet, they release steam, which becomes trapped around them. Instead of roasting and crisping, they end up steaming, resulting in a soft, soggy texture.
To avoid this, ensure your sprouts have plenty of "breathing room." Spread them in a single layer with a little space between each piece. If you have a large batch, it's always better to use two pans, arranged on separate racks near the middle of your oven, rather than attempting to squeeze everything onto one. This allows for proper air circulation and direct heat contact, which are vital for crispness.
The Revolutionary "No-Turn" Method
This is the big secret, the game-changer that sets perfect oven-roasted Brussels sprouts apart. While traditional roasting advice often suggests turning vegetables halfway through, Brussels sprouts are a special case. When you place halved Brussels sprouts with their flat, cut sides directly against the hot pan, something magical happens.
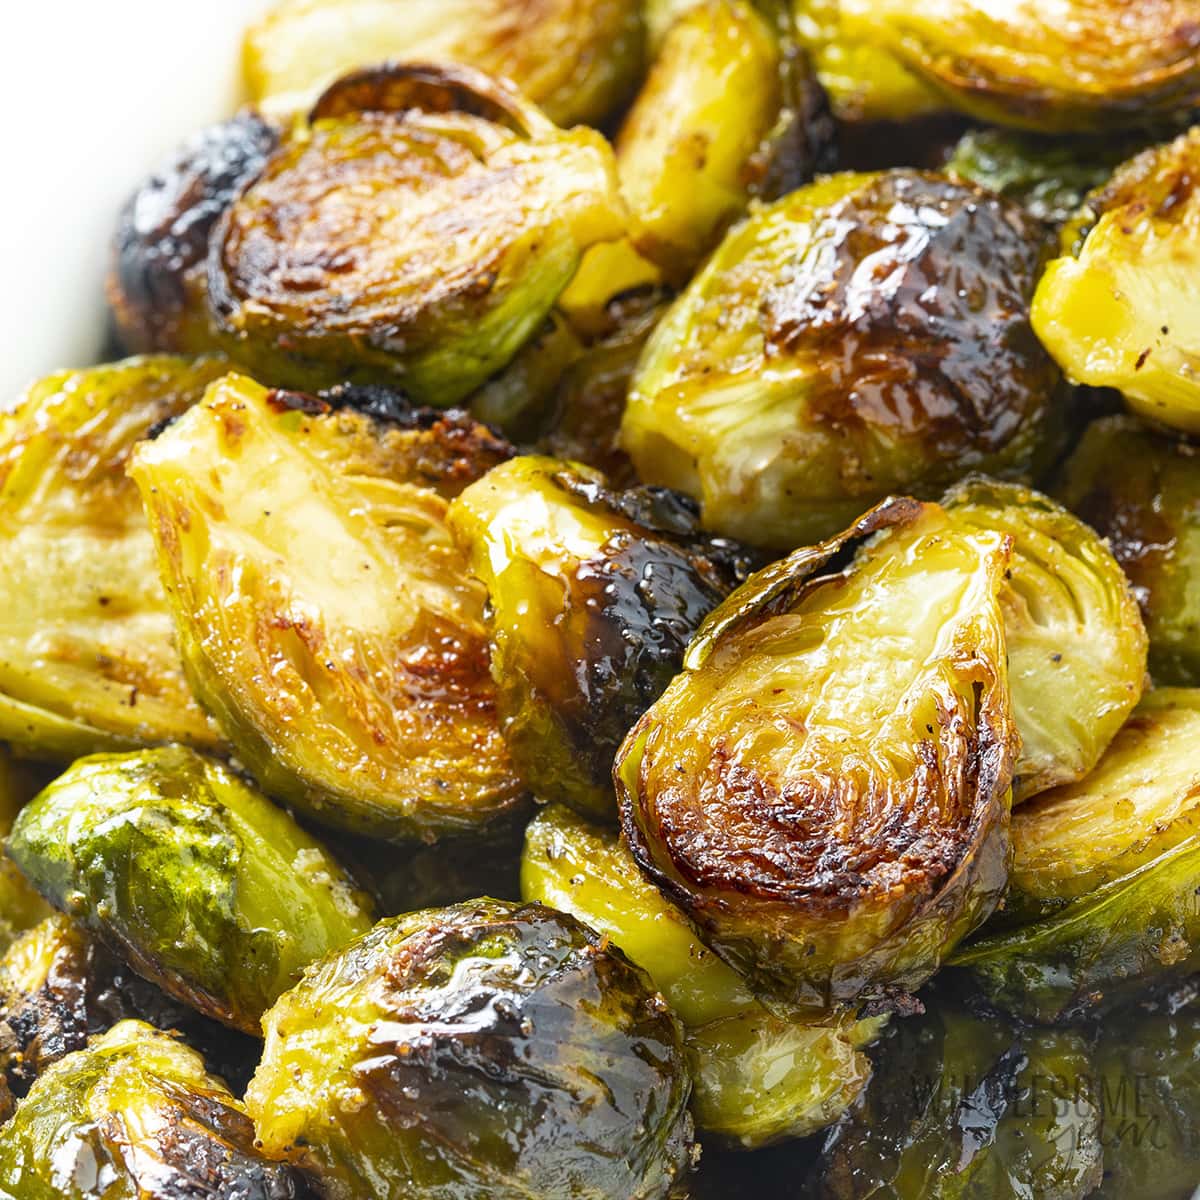
The flat side, making direct contact with the searing hot metal, becomes deeply golden, almost charred, and incredibly crispy. Simultaneously, the exposed inner layers of the sprout, facing upwards, gently steam within the trapped air, resulting in an exquisitely tender interior. The tops of the sprouts, facing the oven's upper heating element, get delightfully toasted.
By *not* turning them, you allow this dual process to occur uninterrupted: intense caramelization on the bottom for crispness and gentle steaming on the inside for tenderness. This creates a fantastic textural contrast that is impossible to achieve by flipping them. Trust the process – once you try it, you'll never go back! Understanding the optimal temperature and preparation is key; delve deeper into
Roast Perfect Brussels Sprouts: 425°F, Proper Spacing & Prep for more insights.
Achieving Perfection: Roasting Time, Doneness, and Flavor Enhancements
With the preparation and technique mastered, the final touches involve knowing when your sprouts are truly perfect and how to enhance their natural deliciousness.
The Art of Doneness
The exact cook time for your Brussels sprouts will depend on several factors: the size and density of your sprouts, the calibration of your oven, and your personal preference for caramelization. Generally, at 425°F, Brussels sprouts will take anywhere from 20 to 30 minutes.
Don’t be shy about roasting them until they are *deeply* golden, almost appearing burnt in some spots. This is where the rich, nutty, and slightly sweet flavors develop. If you’re ever wondering if you’ve burned your sprouts, they’re probably just right! A truly perfectly roasted sprout will have deeply caramelized, almost blackened flat sides and offer little resistance when pierced through by a fork. The outer leaves will be wonderfully crispy, while the core remains tender. Resist the urge to pull them out too soon; undercooked sprouts will lack that signature crispness and depth of flavor.
Simple Yet Impactful Flavor Enhancements
The beauty of roasted Brussels sprouts is that they shine with minimal seasoning, allowing their natural flavors to come through. However, a few simple additions can elevate them even further.
*
The Essentials: Before roasting, toss your prepared sprouts generously with good quality olive oil, coarse sea salt, and freshly ground black pepper. These three ingredients are non-negotiable for delicious results.
*
Garlic and Onion Powder: A sprinkle of garlic powder and onion powder adds an extra layer of savory depth without the risk of burning fresh garlic.
*
Smoked Paprika: For a subtle smoky flavor and a beautiful reddish hue, add a pinch of smoked paprika to your seasoning mix.
*
Heat It Up: If you enjoy a kick, a pinch of red pepper flakes or a dash of cayenne pepper tossed with the sprouts before roasting can add a pleasant warmth.
*
Acidity and Sweetness (Post-Roast): While adding these *during* roasting can hinder crisping, a drizzle of balsamic glaze (a reduction of balsamic vinegar) or a squeeze of fresh lemon juice *after* they come out of the oven can brighten the flavors beautifully. A touch of maple syrup or honey can also be drizzled on at the very end for a sweet and savory finish.
*
Cheesy Goodness: For the last 5 minutes of roasting, sprinkle a little grated Parmesan cheese over the sprouts. The cheese will melt and become crispy, adding a savory, umami-rich crust.
Experiment with these additions to find your perfect flavor profile. The key is to add most wet ingredients or fresh herbs *after* roasting to maintain crispness.
Conclusion
Learning
how to cook Brussels sprouts in the oven to crispy perfection is a culinary revelation that will change your perception of this humble vegetable forever. By focusing on proper selection, meticulous preparation (especially the crucial halving), maintaining high heat, ensuring adequate pan spacing, and most importantly, embracing the "no-turn" roasting method, you’ll unlock a world of flavor and texture. No more soggy, bitter sprouts—just deeply caramelized, tender-crisp delights that will earn rave reviews. So, preheat your oven, grab those green gems, and get ready to create a side dish that might just steal the show.